ZigZag Love in Miniature
It's finished! My itty bitty heart quilt. What do you think?
Each heart in this quilt is 1.5” small and uses one mini charm from V and Co's Simply Style fabric collection. I normally love to piece tiny, rotary-cut patchwork pieces, but for this quilt I chose to make foundation papers. I foundation pieced the heart halves, then removed the papers before sewing the halves into rows.
It's hard to tell the size in photos, so here's one with my hand for some scale:
I kept the quilting simple, just in-the-ditch with black thread (though the background is actually dark navy blue), and pale green thread inside the zigzags and diamonds for some contrast. To quilt inside the diamonds without stopping and starting for each one, I used the same method I described in this previous blog post.
I actually added the borders after I'd done most of the quilting. Because I'd gone edge to edge with my quilting, it meant I could simply pull my threads to the top after quilting each row, then tie them off and not have to worry about burying them because adding the borders covered them up nicely. A little more green stitching on the borders, and I was ready to trim and bind.
(By the way, don't you just love trimming mini quilts? So much easier than trimming a large quilt!)
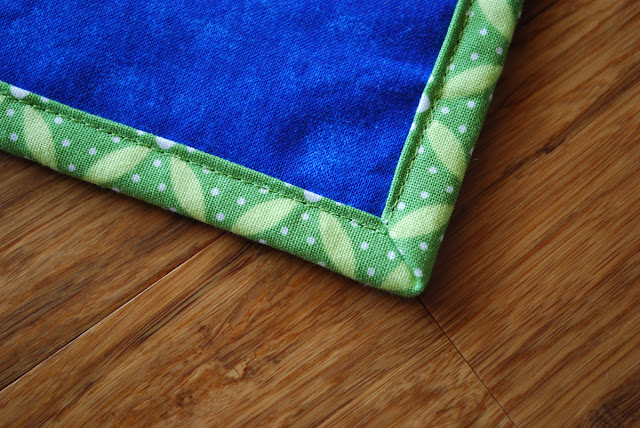
For speed, I chose to machine bind the quilt. It really is a nice, quick way to finish up a wall hanging. To make the stitching almost invisible, I used black for the top thread and green in the bobbin. The tension was spot on, so neither colour shows through to the other side.
I'm working on a second ZigZag Love pattern, with more sizes and variations, to compliment my first pattern. The foundation piecing pattern for little quilt will be included, as well as some larger sizes, so if you think you'd like to make one of your own be sure to keep an eye on my blog to find out when the pattern is released.
You can also sign up for my brand new mailing list! Simply fill in the form on my sidebar (up towards the top of the blog). When I start sending out newsletters you'll be the first to know about my new patterns, tutorials and other quilty news and exclusive offers. If there's anything you'd like to hear about, make sure you let me know.
Bye for now, and happy sewing!
Hope x


Enjoyed seeing your project! What a work of art! You did a fine job. Minis are so challenging!
ReplyDeleteThank you so much Patricia. Minis are challenging, but so much fun don't you think? Nice that they're quick too. :)
DeleteSo pretty Hope! Love the green binding. I'm jealous of how the back of your binding looks! (I'm still trying to get mine to turn out with a consistent edge on the back.) You have a gift with color - looks wonderful.
ReplyDeleteThanks Colleen. :) I have a couple of tricks with binding. They include ironing, glue and mini fold-back clips. I also unpick wherever I'm not happy and try it again. I'm fussy like that! ;)
DeleteThis is beautiful Hope - and those really are teeny tiny hearts! 3
ReplyDelete